How Mold Remediation Works, Step by Step
Strip away the jargon and a remediation job is a careful sequence: find the problem, seal the area, take out what cannot be saved, clean what stays, dry everything, and check the work at the end. This guide walks through each stage so you know what to expect before anyone cuts into a wall at your house.
Removal and Remediation Are Not the Same Thing
People use the two words as if they were interchangeable, and they are not. Removal is the physical part: cutting out moldy drywall, hauling away ruined insulation, scrubbing a joist. It is one step inside a bigger process. Remediation is that whole process. It starts with finding out why the mold grew, and it ends with a dried, verified space where the conditions for growth are gone.
The difference matters when you are comparing specialists. A cheap wipe down of the visible growth is removal, done badly. It leaves the leak, the damp cavity and the spores in the wall right where they were, and the patch usually reappears within a season. Remediation solves the whole problem: growth out, moisture fixed, area proven clean. When someone quotes you a job, the useful question is not how fast they can remove the mold. It is whether their plan covers every step below.
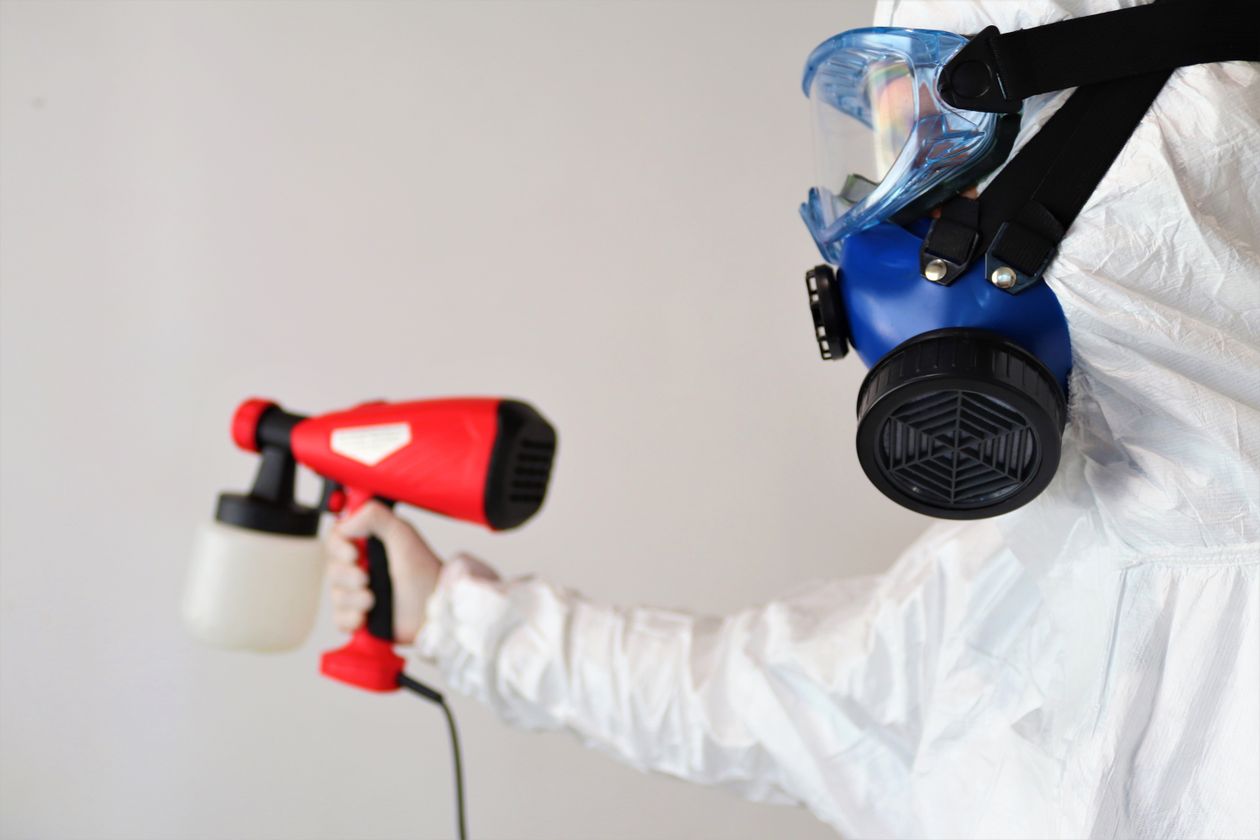
The Seven Steps of a Remediation Job
1. Inspection and moisture mapping
Everything starts with the whole picture, not just the visible patch. The specialist examines the affected area, checks inside wall cavities and nearby hidden spaces where growth spreads, and takes moisture readings in walls, floors and framing. A moisture meter shows which materials are wet and how far the damp has traveled, often farther than the surface stain suggests. This step decides the true size of the job.
2. The written plan
Before work begins, get the scope in writing: which rooms and materials are involved, what will be removed, what will be cleaned and kept, how the area will be contained, and how the moisture source will be fixed. A written plan protects you. Both sides know what a finished job looks like before the first cut. If a specialist will not put the scope in writing, that is worth a pause.
3. Containment
The crew seals the work area off from the rest of the house with heavy plastic sheeting over doorways, vents and openings. This step keeps a one room problem from becoming a whole house problem. Disturbing mold releases spores. Containment keeps them in the room with the filters and the crew, instead of drifting down the hall into your living room.
4. Air filtration
Inside the containment, an air scrubber runs the whole time work goes on. It is a fan unit with a HEPA filter, and it does two jobs at once: trapping spores and dust pulled from the air, and, by exhausting filtered air outside, keeping the work area at slightly lower pressure than the rooms around it. That negative pressure means air only ever leaks into the work zone, never out of it.
5. Removal of mold and unsalvageable material
Now the visible work happens. Materials mold has colonized through and through, like drywall, insulation, carpet padding and swollen particle board, cannot be cleaned back to sound. They are cut out, bagged and sealed inside the containment, then carried out. Solid material that is still sound, like framing lumber, usually stays and gets cleaned in the next step. Expect this to be the noisiest, dustiest stage, which is exactly why the sealing and filtering came first.
6. Cleaning and treatment of remaining surfaces
With the ruined material gone, the crew HEPA vacuums framing, walls and floors, then damp wipes or scrubs every remaining surface clean. Antimicrobial treatments may be applied to cleaned wood and other materials as a preventive step. The order matters: vacuum first, then wipe, so loose spores are captured by the filter instead of being smeared around by a cloth.
7. Drying and post-remediation verification
The last stage is easy to skip and should never be skipped. Dehumidifiers and air movers dry the structure until moisture readings are back at normal levels, because closing a wall over damp framing invites the whole problem back. Then comes verification: a visual check that no visible growth or debris remains, fresh moisture readings, and on larger jobs, clearance testing that compares indoor air with the air outside. Only after that does the containment come down and rebuilding begin.
How Long Does a Typical Job Take?
There is no single answer. A small job, one bathroom wall or a contained patch in a single room, often wraps up in a day or two of active work. A job covering several rooms, a full crawl space or a flooded home can stretch across the better part of a week, sometimes longer. The stage that sets the pace is rarely the removal. It is the drying. Framing and subfloor have to reach normal moisture levels before anyone closes things up, and wood gives up its water on its own schedule, helped by dehumidifiers but never hurried. A specialist who promises to finish a big wet job suspiciously fast is telling you something about which steps they plan to skip. After the inspection, expect a realistic schedule for your house, with drying time built in.
What You Can Do Before and During the Work
A little preparation on your side makes the job smoother. Clear the work area and the path to it, so the crew can move equipment and bagged material easily. Move fabrics, valuables and anything porous out of the rooms next to the work zone. Plan for your pets: they stay out of the contained area entirely, and most do better away from the fan noise. Ask about your HVAC system, too. Specialists often shut down the part serving the work zone so spores are not pulled through the ductwork, so that part of the house may run warmer or cooler for a few days. Kids should treat the plastic sheeting as a wall, not a curtain. And keep the questions coming: a good crew would rather explain the plan twice than have you worrying behind the plastic.
What the Verification Visit Actually Checks
The verification at the end is your proof the job worked, so it pays to know what it involves. First, a visual inspection of the work area: no visible growth, no leftover debris, no dust coating the surfaces. Second, moisture readings in the framing and surrounding materials, checked against what counts as dry for them. A clean looking wall that still reads wet is not a finished job. On bigger projects, a specialist may also take air or surface samples and compare them with outdoor air, the normal baseline every house lives with. You should come away with a plain summary: what was removed, what was cleaned, the final readings, and what was done about the moisture source. Keep that paperwork. If you sell the house one day, a documented, verified remediation is worth far more than saying the mold was handled.
The Standards Behind the Process
None of this sequence is improvised. Professional remediation follows the IICRC S520 standard, the industry's reference document for how mold jobs should be assessed, contained, cleaned and verified. When a specialist says they work to S520, this timeline is what they mean. The other anchor is the EPA's simple guidance that the key to mold control is moisture control. Every step above either removes growth or removes the conditions for it, and the second half decides whether you ever think about this again. One more local fact: North Carolina does not license mold remediation at the state level, so standards and voluntary certification, like IICRC training, are how good specialists distinguish themselves.
Questions About the Remediation Process
What is the difference between mold removal and mold remediation?
Removal is the physical work of getting moldy material and growth out of the house. Remediation is the whole job around it: finding the moisture source, containing the area, removing what cannot be saved, cleaning what stays, drying everything and verifying the result. A wipe down of visible mold is removal at best. Remediation keeps the problem from coming back, because it deals with the water that caused it.
How long does mold remediation take?
A small, contained job often takes a day or two of active work. Larger jobs, especially after flooding or where several rooms are involved, can run across several days. Drying sets the pace, because framing and other materials have to reach normal moisture levels before walls are closed up, and that cannot be rushed without risking regrowth. Your specialist should give you a realistic schedule after the inspection.
Can I stay in my home during remediation?
In most cases, yes. The work area is sealed off with containment and kept under negative air pressure, so the rest of the house stays separate from the work. You will hear fans and dehumidifiers running, and you will need to stay out of the sealed area. When growth is extensive across much of the home, or someone in the house has serious respiratory issues, a specialist may suggest staying elsewhere for part of the job. They should raise it during the inspection if it applies.
Will the mold come back after remediation?
It should not, as long as the moisture source is fixed. Mold needs water to grow, and a proper remediation includes finding and correcting the leak, condensation or flooding problem behind the growth, then drying the area to normal levels. If the water problem returns, mold can return with it, which is why verification checks moisture readings and not just appearances. Keeping an eye on the repaired area for a few months is a sensible habit.
Sound Like the Job Your House Needs?
If this sounded familiar, the first step is an inspection at your home. Tell us what you found and we will match you with a Wilmington specialist.